
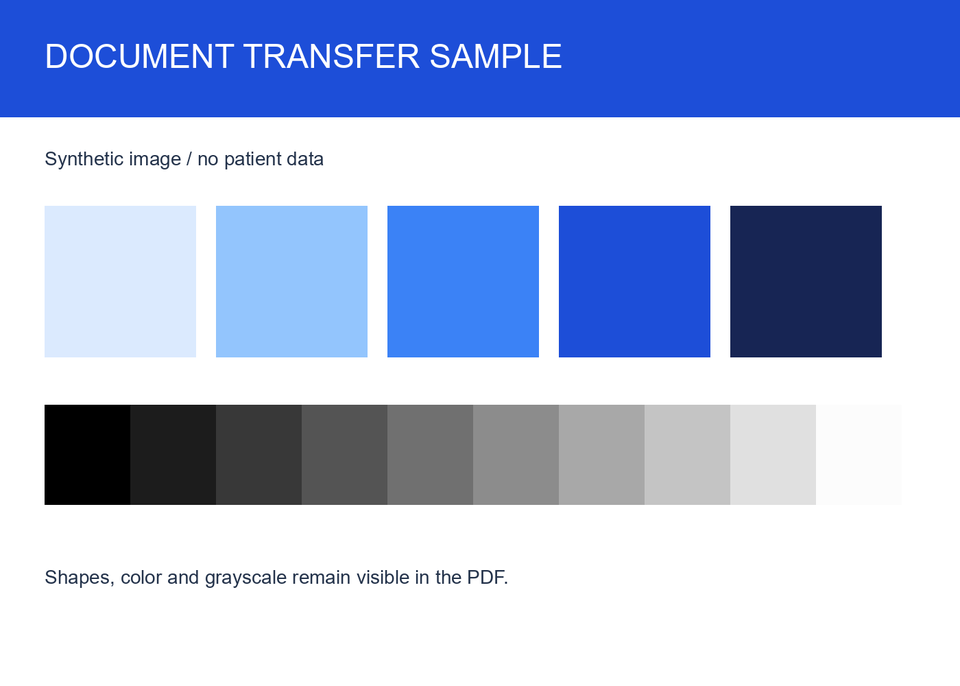
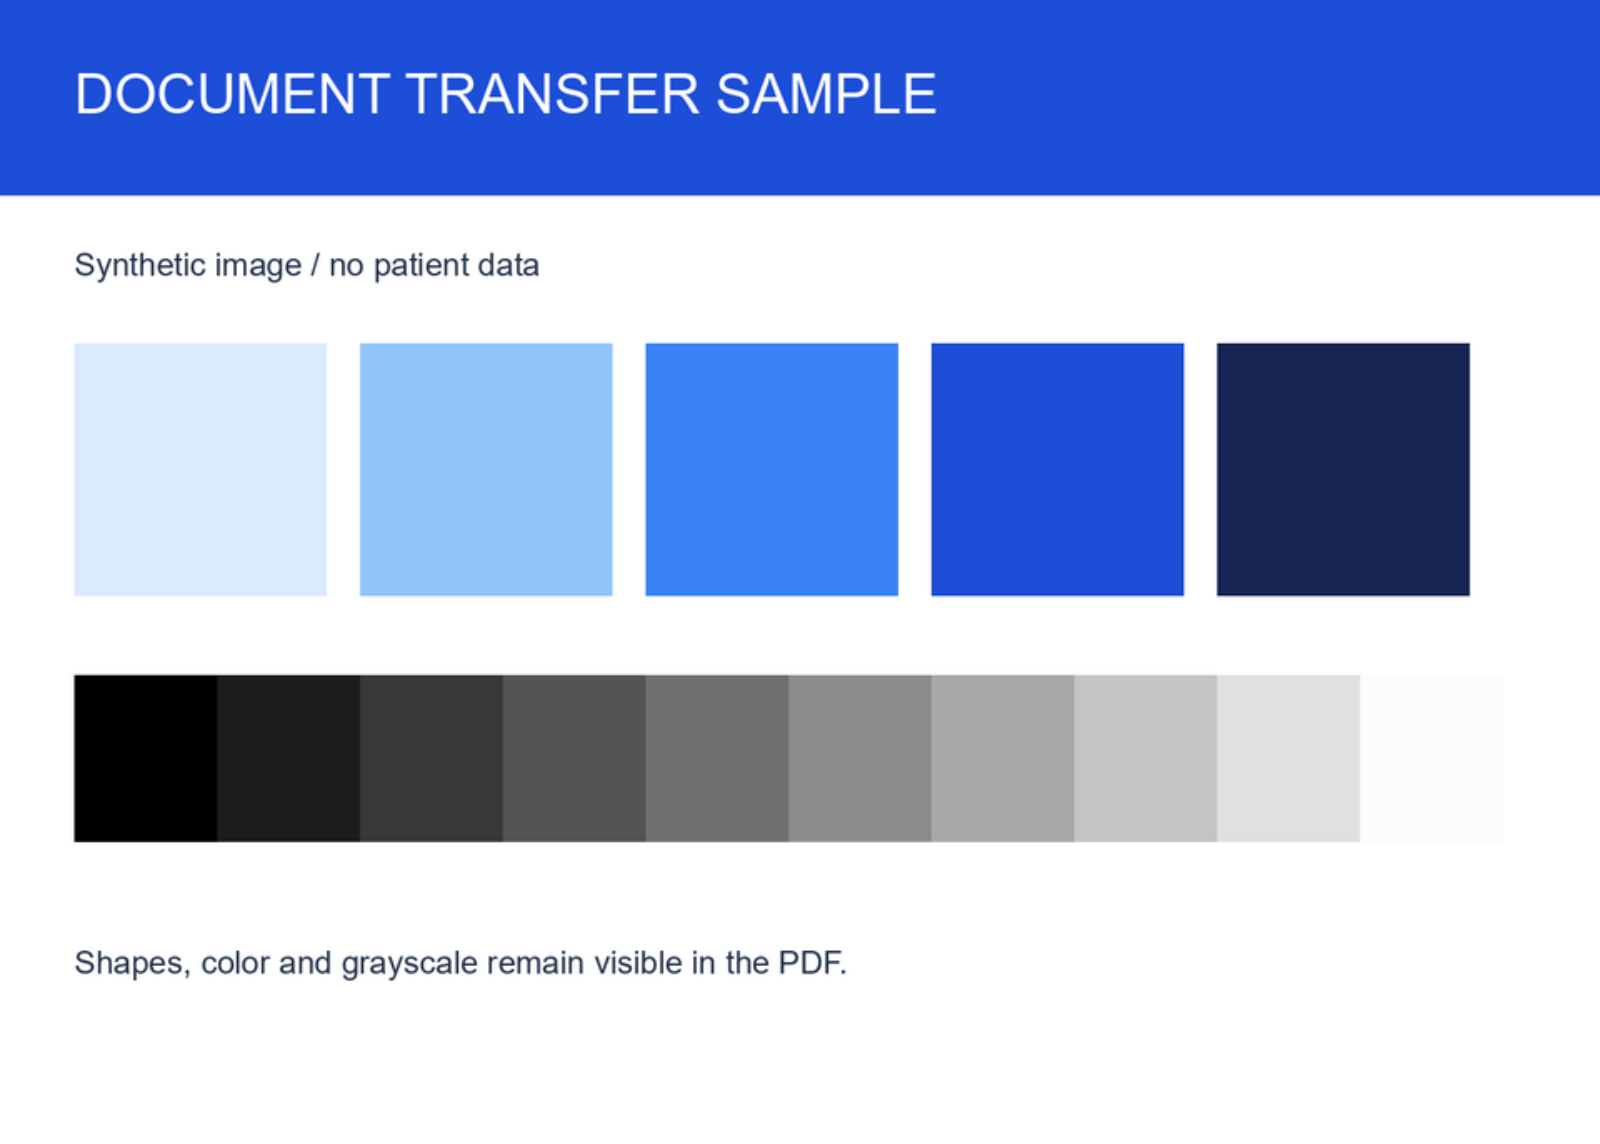

Open DICOM to PDF, add a supported DCM or DICOM file and review the prepared frames. Our example uses an original color and grayscale test card with no patient information.
Add the DICOM file and review its frames
Choose the file and wait for the prepared frame previews. This workflow reads supported image pixel data; a DICOM object without supported pixel data may not open as an image.
Inspect orientation, contrast and frame count. Multi-frame inputs can produce several pages, so check that the frames you need are present.
Set the page layout and order
Choose the paper size, orientation and margins. The example keeps the image’s size and proportions with a zero margin. A standard paper size such as A4 is useful when you need a conventional document sheet.
Reorder or rotate frames as needed and remove any you do not want. Every page remaining in the workspace will export; selection controls edits to the board.
Download and inspect the PDF
Choose Start and download the PDF. Open it and inspect every page, especially fine detail and tonal differences. Our one-frame example produces one page.
Keep the original DICOM file when you need its metadata, original pixel values or specialized viewing controls. The PDF carries the rendered image, and the image’s own resolution limits its detail.
Common questions
Does this conversion anonymize the visible image?
No. Any names, identifiers or other information already drawn into the pixels can remain visible in the PDF. Review the actual image before sharing it.
Can I export several frames into one PDF?
Supported multi-frame files expose their frames as separate prepared pages. Arrange the pages and check the full sequence before downloading.
Try it with your document
Review the result, then save the version you need.