

Open BMP to PDF and add the source images. BMP files from older applications can be awkward to share as documents. A PDF provides page order and paper layout without requiring the recipient to work directly with the bitmap.
Load and arrange the images
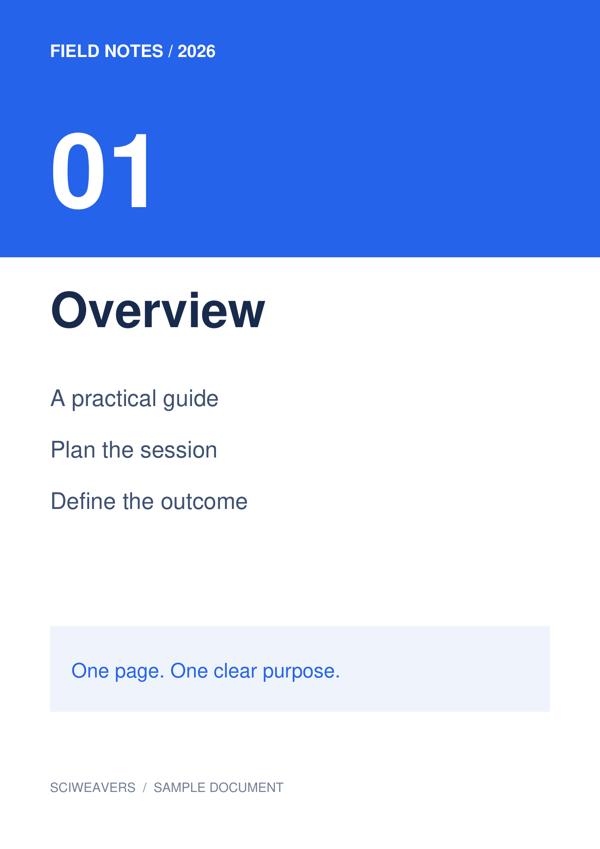
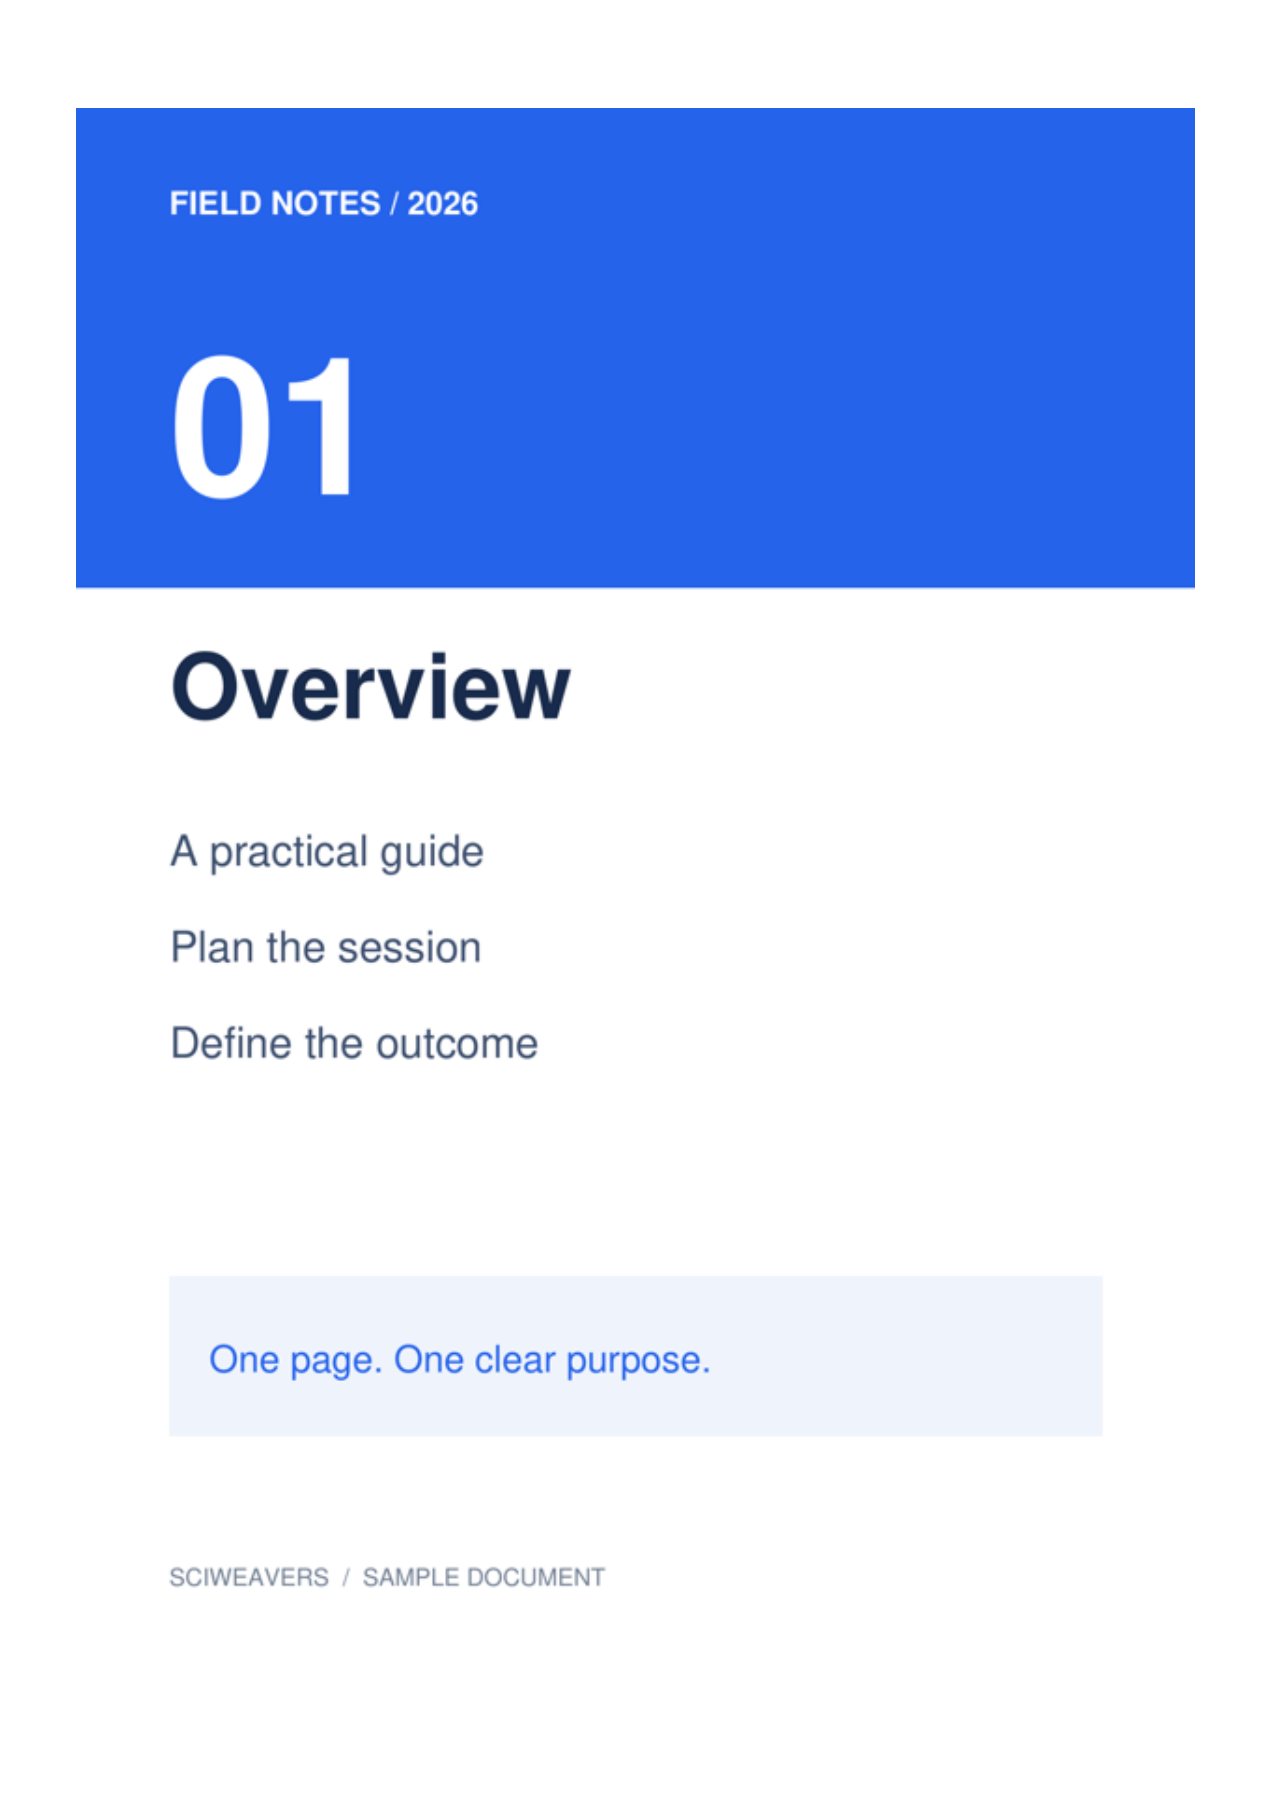
One BMP image. BMP files can be large relative to their pixel dimensions. Our example uses a 600 × 849-pixel bitmap that fits the tool’s upload limit; check the displayed limit before choosing larger files.
Add your file or files and wait for the thumbnails. The board shows the pages that will be exported. Drag to reorder, select a tile to rotate it, or remove it if it does not belong in the document.
Choose paper, margins and fit
For this example choose A4, Portrait and 0.5 in margins. Keep Fit whole image under Image fit and white under Page color. The layout settings apply to every page.
The default paper option is Fit image, with Match image orientation and zero margins. Choosing A4 instead makes the physical paper size consistent. Fit whole image retains the full picture; Fill page · crop edges can cut content at the edges when proportions differ.
Export and check the PDF
Set the output filename, then choose Start and download. Selecting tiles is only for editing; every image remaining on the board is exported.
Open the saved PDF and confirm the page count, order, orientation and margins. Our result has 1 page, each measuring about 210 × 297 mm. Compare the smallest lettering with the source before printing or submitting it.
Common questions
Why does a small BMP look soft on large paper?
The number of source pixels is unchanged. Enlarging the layout spreads them across a larger physical area; use a higher-resolution original if the upload limit allows it.
Can I search text inside the resulting images?
Image-to-PDF conversion does not perform OCR. If you need searchable text from a scanned image, run PDF OCR on the resulting PDF and review the recognized content.
Try it with your document
Review the result, then save the version you need.