

Open PDF to PNG, choose your PDF, set the page scope and download. PNG stores the rendered pixels without lossy image compression. It is a useful choice for diagrams, flat colors and text-heavy pages where JPEG artifacts would be distracting.
Choose the PDF and output
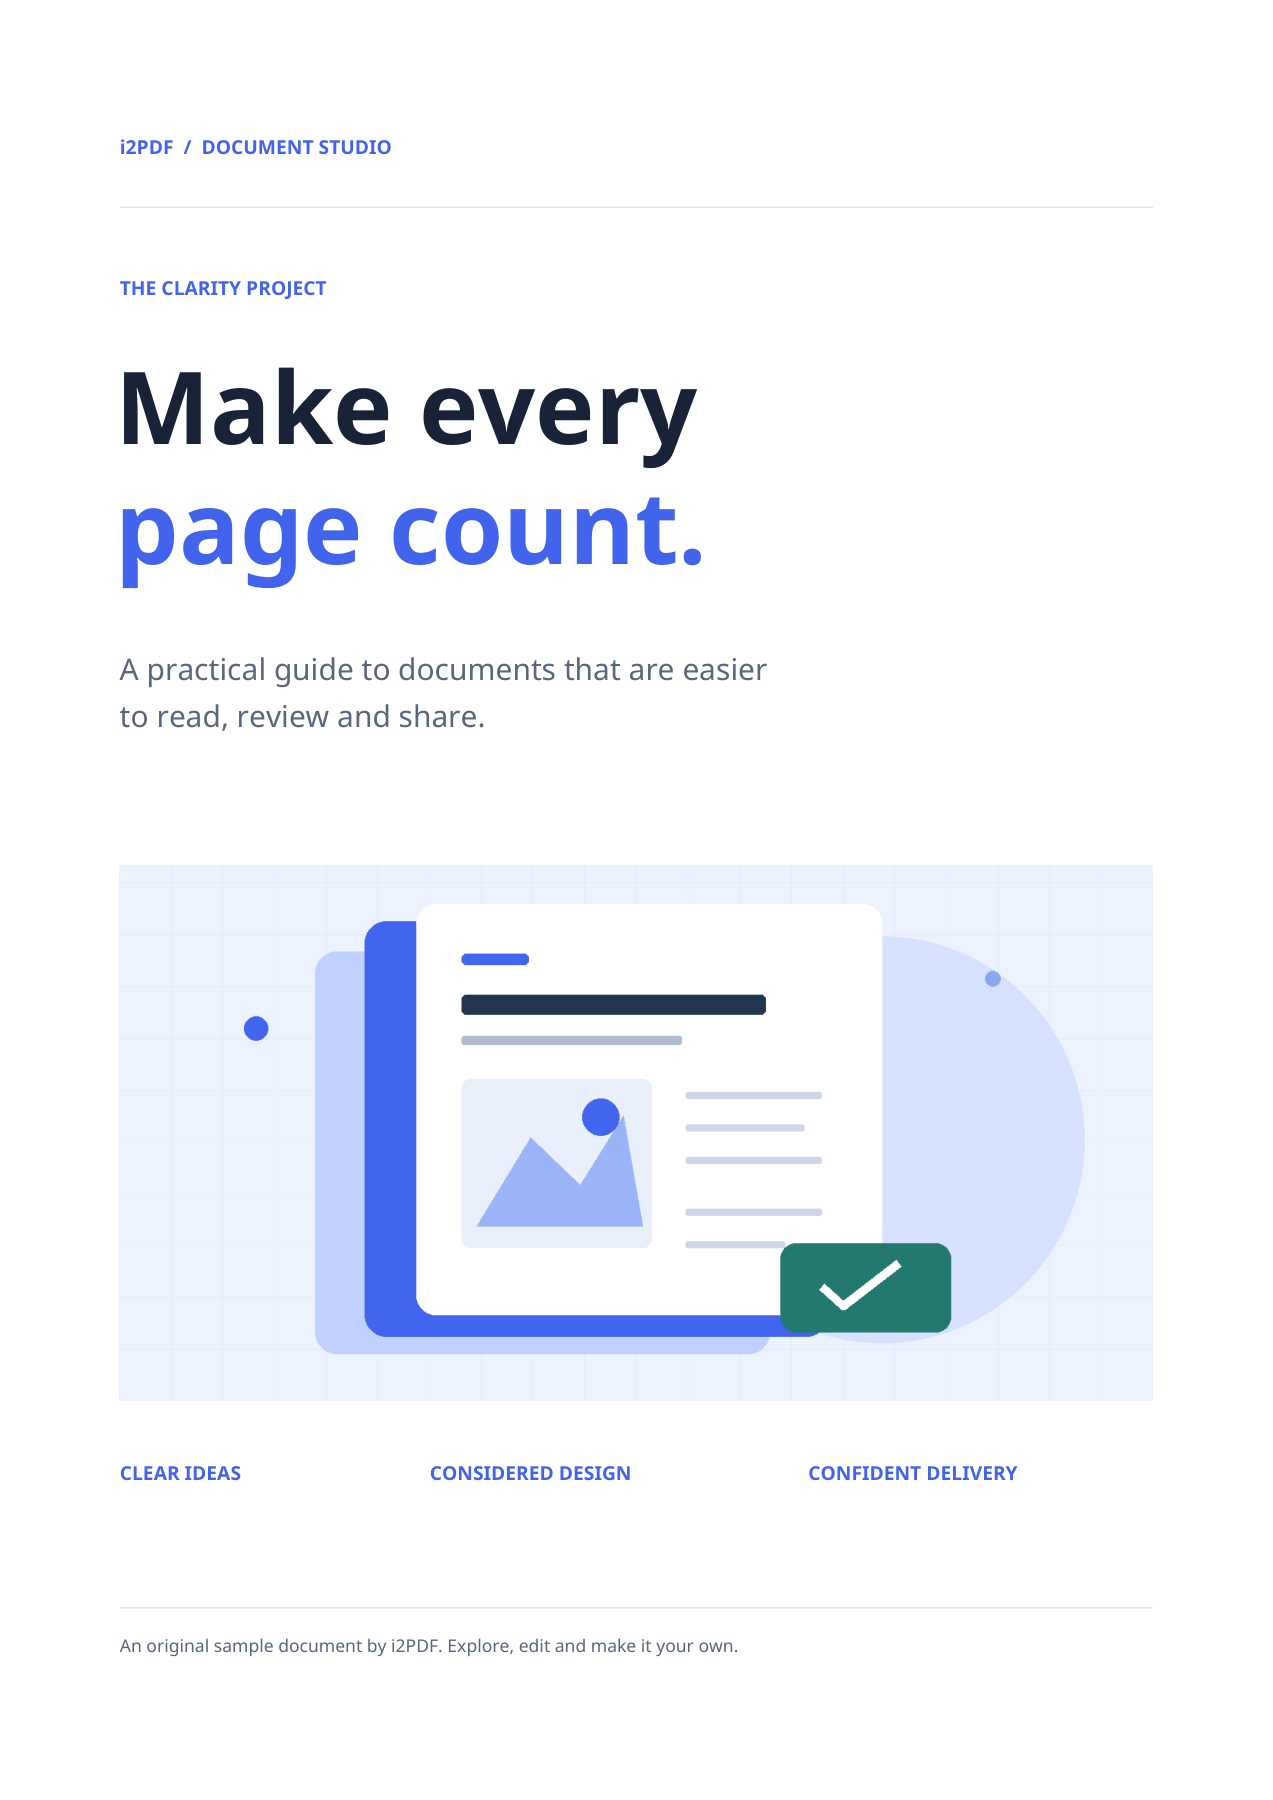
Load the PDF rather than a screenshot of it. Check the preview to confirm the document and orientation. Our example uses the tool’s 4-page sample.
The output format is PNG. Inspect the PNG at its actual pixel size. Lossless encoding preserves the rendered pixels; it cannot add detail beyond the tool’s page-rendering resolution.
Choose pages and orientation
Leave Pages empty to include all 4 pages, or enter a range such as 1-2 when you only need those pages. The preview’s page number is for viewing; use the Pages field to set export scope.
Keep rotation at 0° for this upright sample. The rotation control can turn the exported images when the source orientation needs correction.
The current tool renders raster images at a fixed 200 DPI. It does not expose a DPI or quality slider. Larger paper dimensions therefore produce more pixels.
Download and inspect the files
Choose Start. One selected page downloads as an image; several selected pages are bundled in ZIP. Extract the archive before opening or uploading its members.
Our saved result contains 4 PNG files, with names such as page-001.png. The first image is 1654 × 2339 pixels. Inspect fine type and graphics at an appropriate zoom.
Common questions
Will the PNG have a transparent background?
No. The current PDF export renders opaque RGB page images. PNG supports transparency as a format, but this conversion does not produce a transparent page.
Can I extract only the pictures inside the PDF?
Use Extract Images from PDF for embedded pictures. This tool exports complete rendered pages, including text and page backgrounds.
Try it with your document
Review the result, then save the version you need.